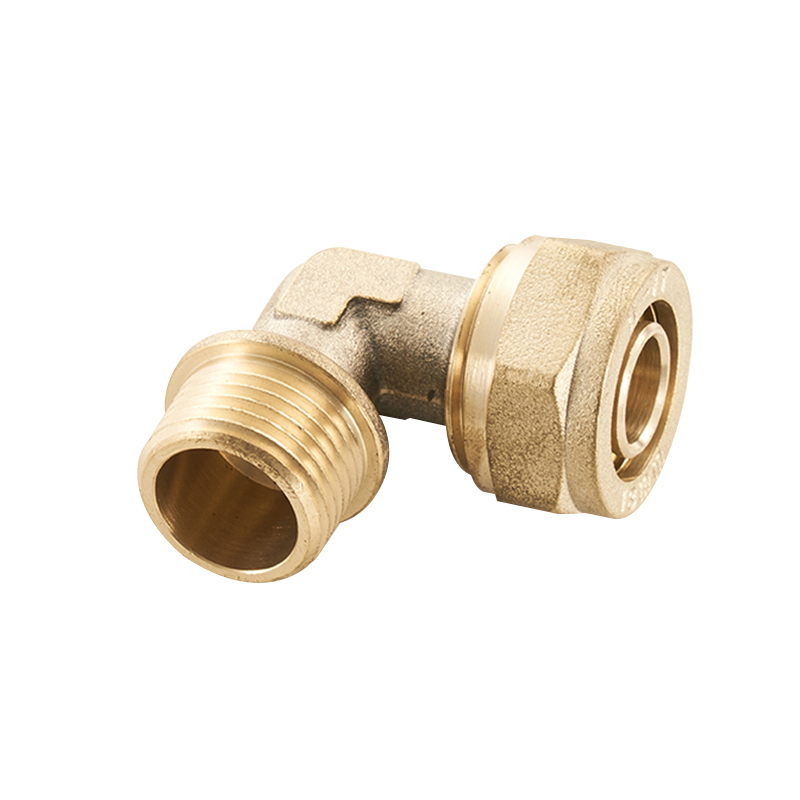
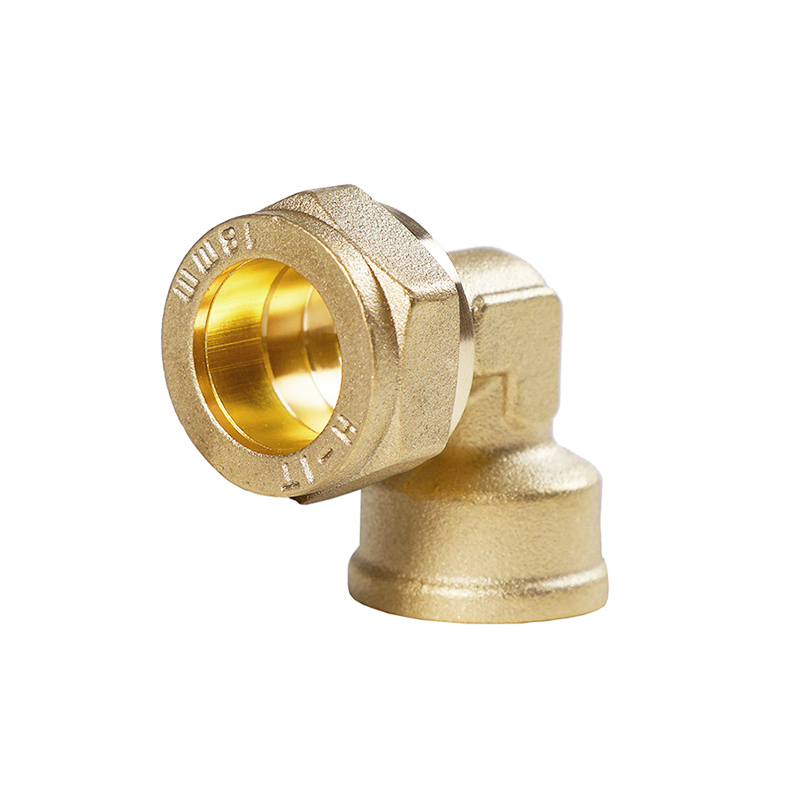
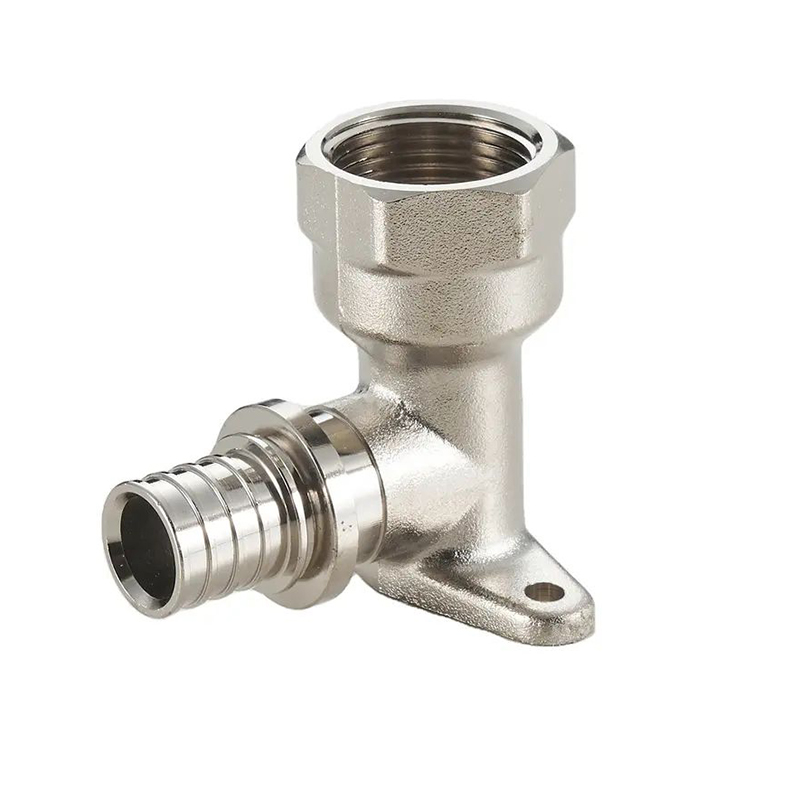
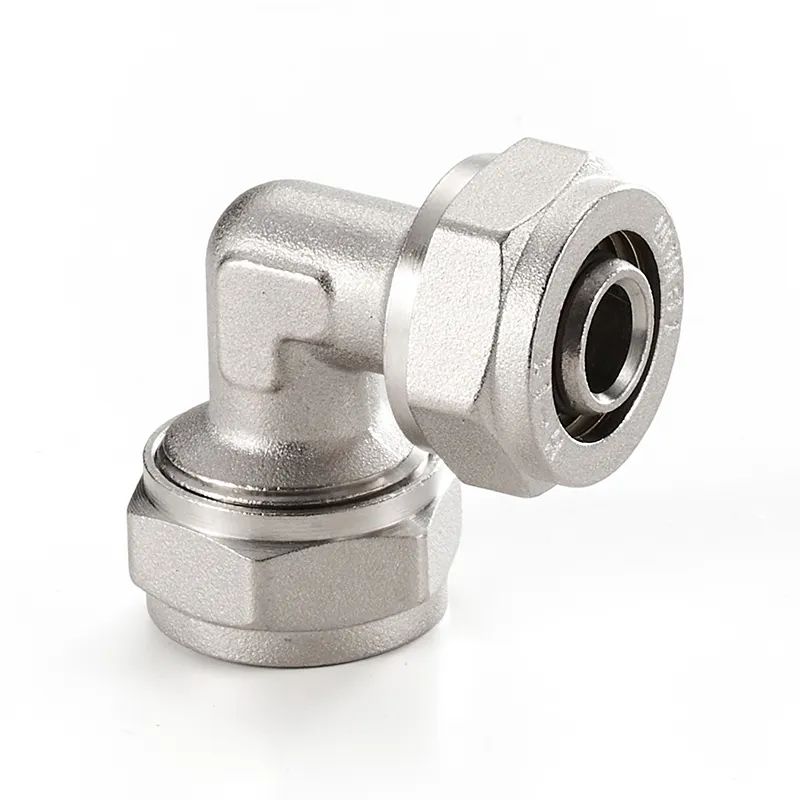
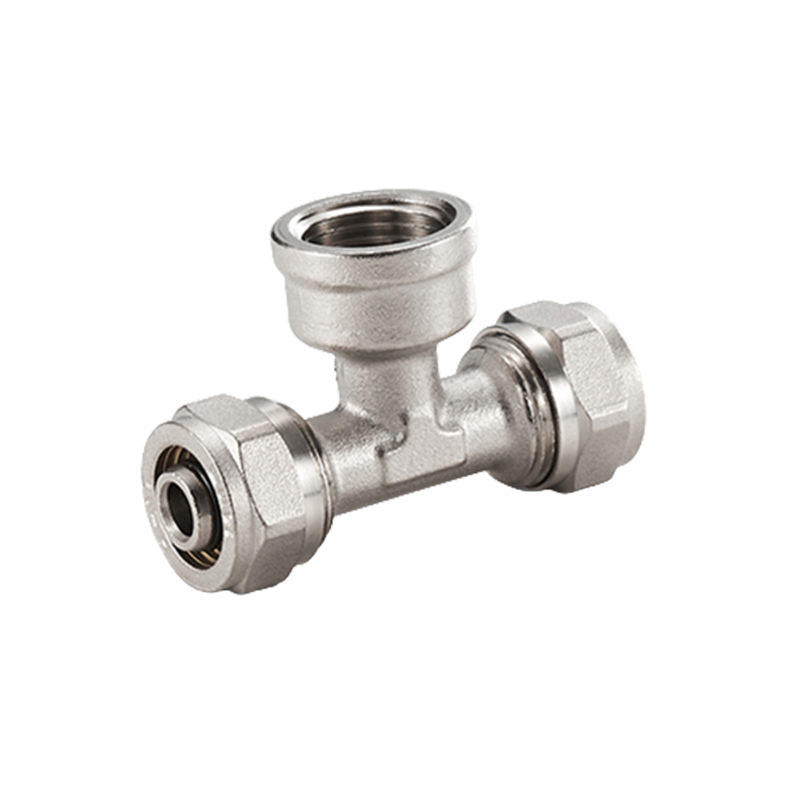
Male Elbow Brass Compression Fitting For Pex Pipe
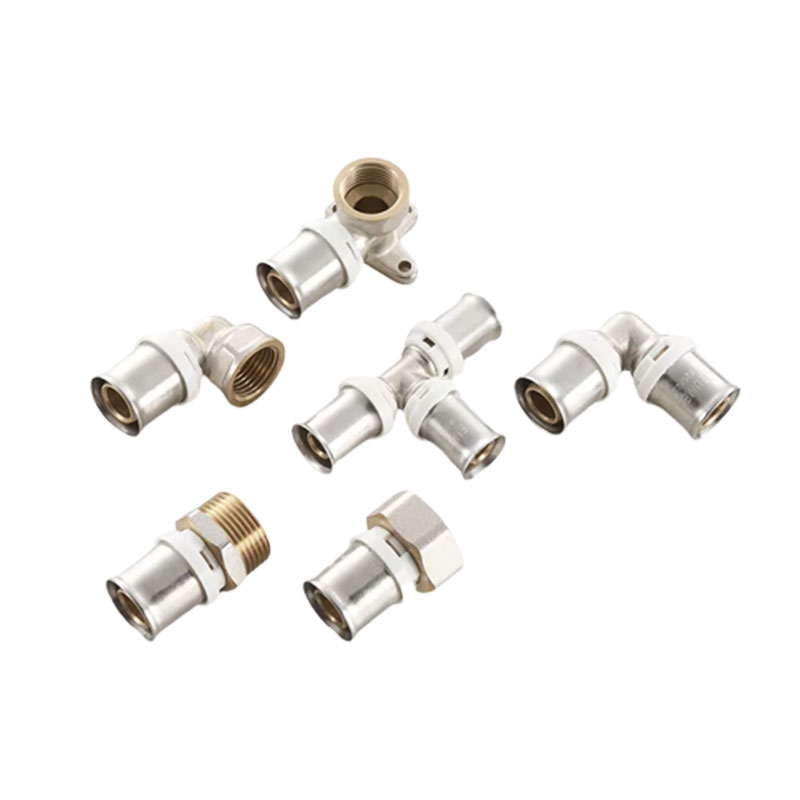
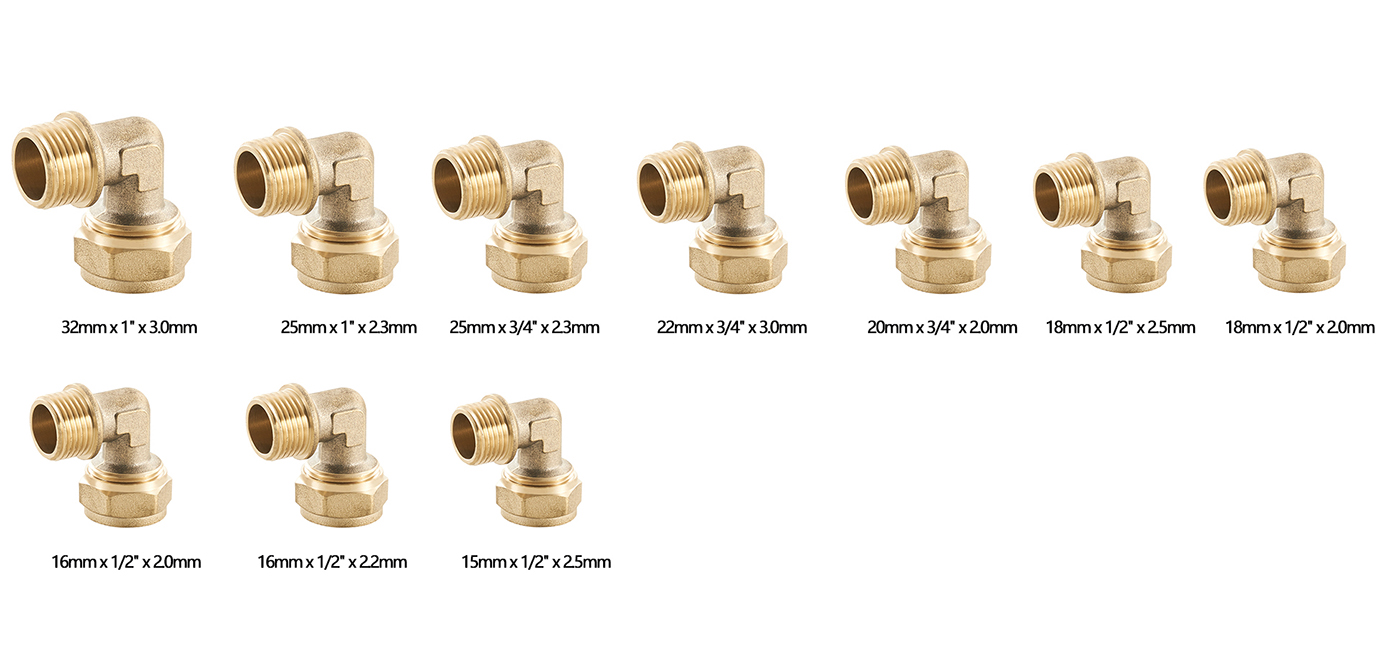
Optional Specification
Product Information
| Product name | Elbow Brass PEX Fittings F/M Threaded | |
| Sizes | 15x1/2”,16x1/2", 18x1/2”, 20x3/4", 22x3/4”, 25x1", 32x1" | |
| Bore | Standard bore | |
| Application | Water, oil, gas, and other non-corrosive liquid | |
| Working pressure | PN16 / 200Psi | |
| Working temperature | -20 to 120°C | |
| Working durability | 10,000 cycles | |
| Quality standard | ISO9001 | |
| End Connection | BSP, NPT | |
| Features: | Forged brass body | |
| Precise dimensions | ||
| Various sizes available | ||
| OEM production acceptable | ||
| Materials | Spare Part | Material |
| Body | Forged brass, sandblasted | |
| Nut | Forged brass, sandblasted | |
| Insert | Brass | |
| Seat | Open copper ring | |
| Stem | N/A | |
| Screw | N/A | |
| Packing | Inner boxes in cartons, loaded in pallets | |
| Customized design acceptable | ||
Key Words
Brass Elbow Fittings, Brass Pex Fittings, Water Pipe Fittings, Tube Fittings, Brass Pipe Fittings, Plumbing Fittings, Pex Pipe Fittings, Compression Fitting, Brass Pipe Fittings, Brass Fittings, Brass Compression Fittings, Pipe Fittings, Pro Pex Fittings, Plumbing Pipe Fittings, Pex Push Fittings
Optional Materials
Brass CW617N, CW614N, HPb57-3, H59-1, C37700, DZR, Lead-free
Optional Color and Surface Finish
Brass natural color or nickel plated
Applications
Fluid control system for building and plumbing: Water,oil, Gas, and other non-corrosive liquid
Brass compression fittings need to be installed together with the hose to form a hose assembly in order to function. The following will introduce the installation steps for you, hoping to help you.
(1) As required, the pipes that need to be pickled should be pickled first;
(2) Cut the pipe with sawing machine or special pipe cutting machine and other equipment according to the required length. It is absolutely not allowed to use melting (such as flame cutting) or grinding wheel cutting; remove the inner and outer circular burrs, metal chips and dirt on the pipe end; remove the rust prevention of pipe joints agent and dirt; at the same time, ensure the roundness of the pipe;
3) Insert the nut and pressing into the pipe successively, and the cutting edge (small diameter end) of the front of the pressing is at least 3mm away from the mouth of the pipe, and then insert the pipe into the taper hole in the joint body until it reaches it;
(4) Slowly tighten the nut, while turning the tube until it does not move, then tighten the nut 2/3 to 4/3 turns;
(5) Disassemble and check whether the ferrule has been cut into the pipe and whether the position is correct. The ferrule is not allowed to have axial movement, and can be rotated slightly;
(6) Re-tighten the nut after passing the inspection.
Contact Us
