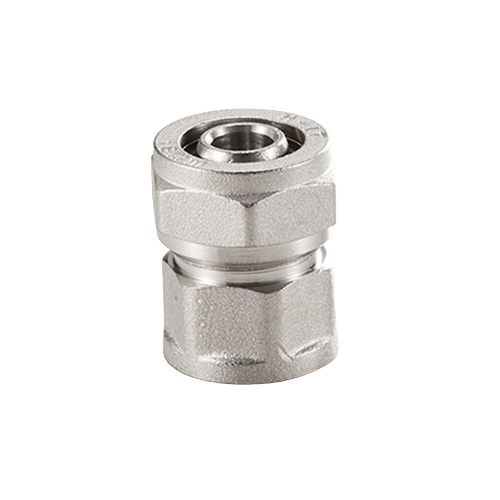
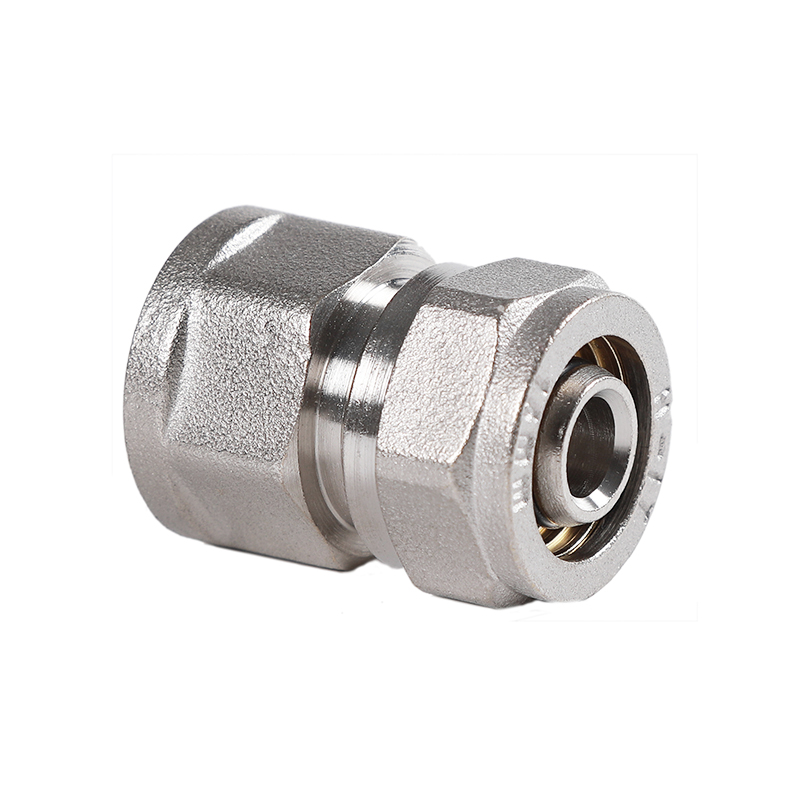
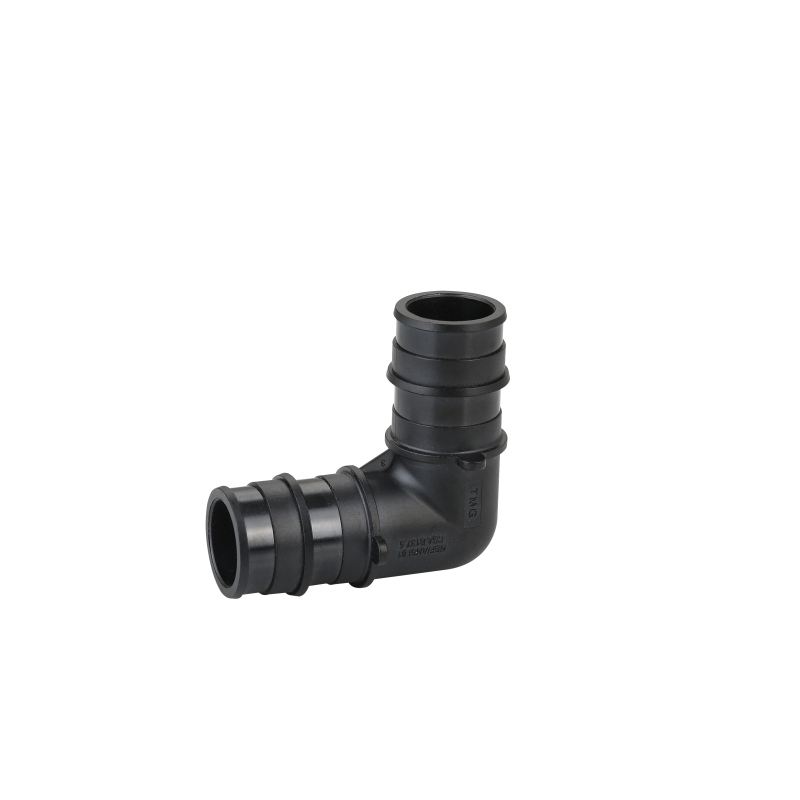
Female Straight Brass Compression Fitting For Al-pex Pipe
Optional Specification

Product Information
| Product name | Female Brass Al-Pex Fittings | |
| Sizes | 16x1/2", 18x1/2", 20x1/2", 20x3/4", 26x3/4”,26x1" | |
| Bore | Standard bore | |
| Application | Water, oil, gas, and other non-corrosive liquid | |
| Working pressure | PN16 / 200Psi | |
| Working temperature | -20 to 120°C | |
| Working durability | 10,000 cycles | |
| Quality standard | ISO9001 | |
| End Connection | BSP, NPT | |
| Features: | Forged brass body | |
| Precise dimensions | ||
| Various sizes available | ||
| OEM production acceptable | ||
| Materials | Spare Part | Material |
| Body | Forged brass, sandblasted and nickel-plated | |
| Nut | Forged brass, sandblasted and nickel-plated | |
| Insert | Brass | |
| Seat | Open copper ring | |
| Seal | O-ring | |
| Stem | N/A | |
| Screw | N/A | |
| Packing | Inner boxes in cartons, loaded in pallets | |
| Customized design acceptable | ||
Key Words
Brass Fittings, Brass Pex Fittings, al-pex Pipe Fittings, Tube Fittings, Brass Pipe Fittings, Plumbing Fittings, Copper To Pex Connection, Copper To Pex Adapter, Brass Water Fittings, Brass Tube Fittings, Brass Plumbing Fittings, Brass Pipe Fittings Suppliers, Brass aluminum pex Pipe Fittings, Brass Pex Fittings, Brass Fittings Plumbing
Optional Materials
Brass CW617N, CW614N, HPb57-3, H59-1, C37700, DZR, Lead-free
Applications
Fluid control system for building and plumbing: Water,oil, Gas, and other non-corrosive liquid
Precautions for installation of brass compression fittings:
1. Saw off a suitable length of seamless steel pipe and remove the burrs at the port. The end face of the pipe needs to be
The axis is vertical, and the angle tolerance is not more than 0.5°. If the pipe needs to be bent, the length of the straight line from the end face of the pipe to the bend should not be less than three times the length of the nut.
2. Put the nut and the compression sleeve of the brass compression fitting on the seamless steel pipe. Pay attention to the direction of the nut and clamping, do not install it in reverse.
3. Apply lubricating oil to the thread and ferrule of the pre-assembled joint body, insert the pipe into the joint body (the pipe must be inserted to the end) and tighten the nut by hand.
4. Tighten the nut until the tube is clamped. This turning point can be adjusted by the tightening torque.
Changes are felt (pressure points).
5. After reaching the pressure point, tighten the compression nut another 1/2 turn.
6. Remove the pre-assembled joint body, check the insertion of the clamping edge, and the visible protrusions
The tape must fill the space on the crimped end face. The clamping can be rotated slightly, but cannot be moved axially.
7. For the final installation, apply lubricating oil to the thread of the joint body in the actual installation, and screw the compression nut with it until the sensible tightening force increases. Then tighten 1/2 turn to complete the installation.
Contact Us
