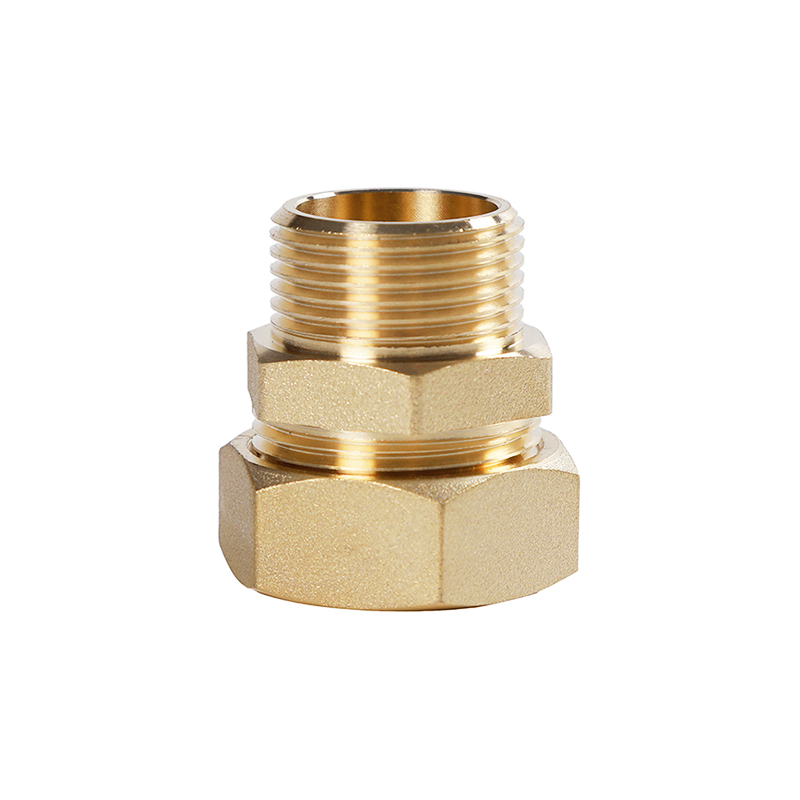
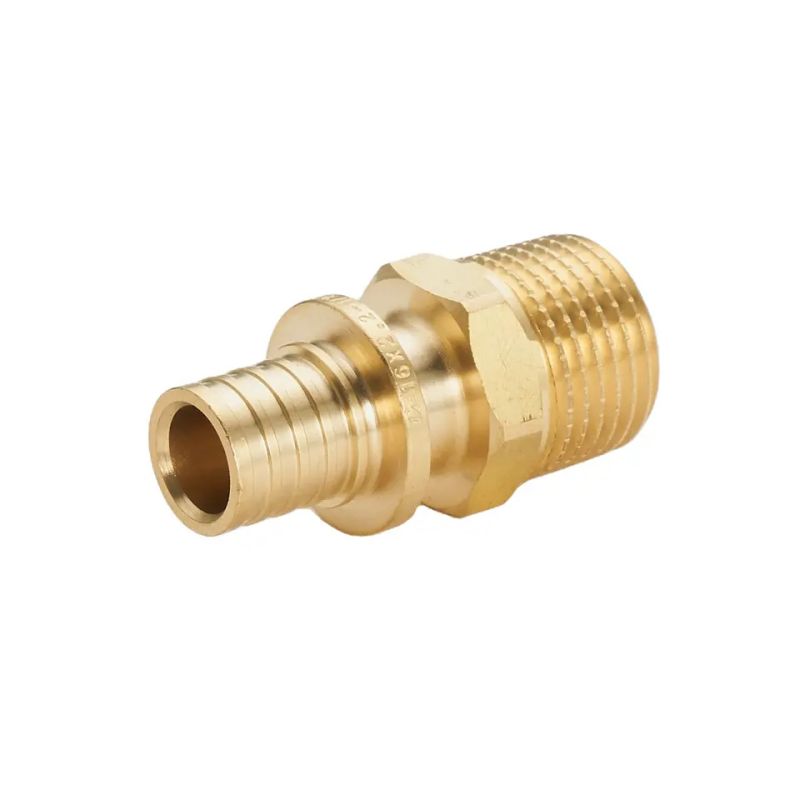
Male Straight Brass Compression Fitting For Pex Pipe
Optional Specification

Product Information
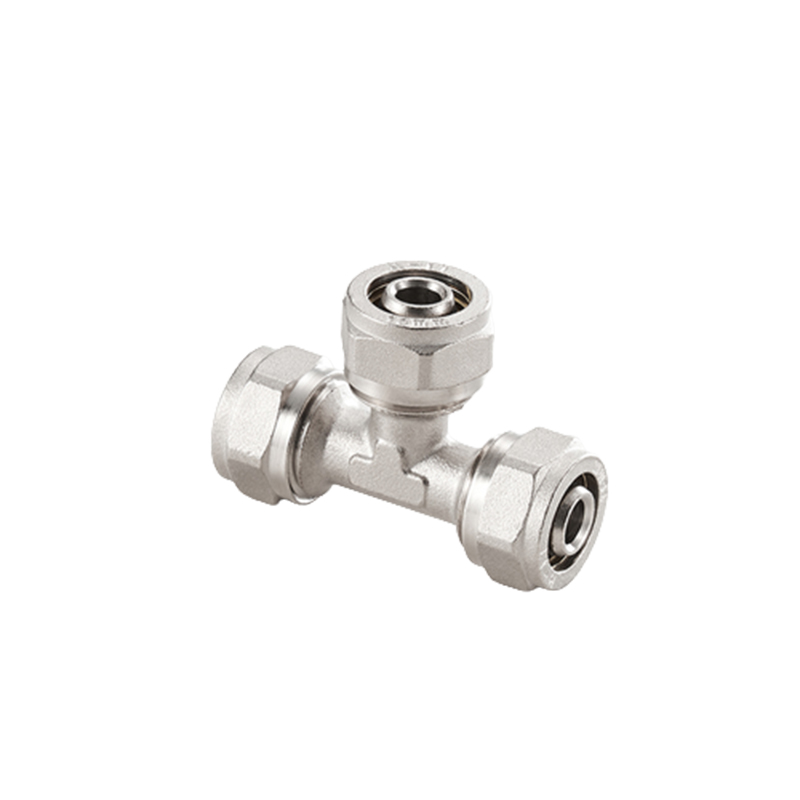
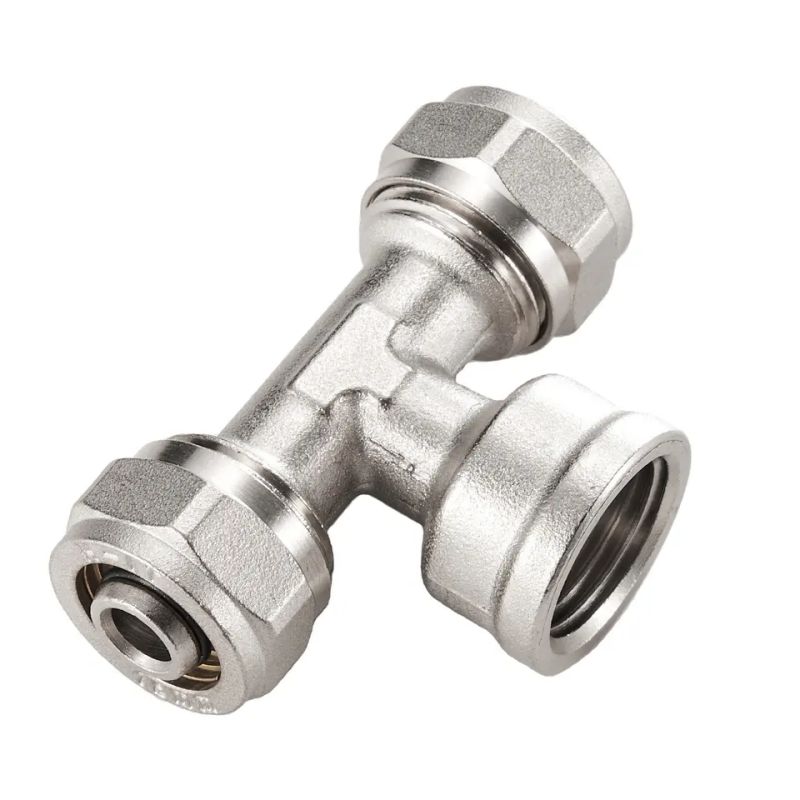
| Product name | Brass forged Equal Tee compression Fittings | |
| Sizes | 15x1/2”, 18x1/2”, 22x3/4”, 22x1” | |
| Bore | Standard bore | |
| Application | Water, oil, gas, and other non-corrosive liquid | |
| Working pressure | PN16 / 200Psi | |
| Working temperature | -20 to 120°C | |
| Working durability | 10,000 cycles | |
| Quality standard | ISO9001 | |
| End Connection | BSP, NPT | |
| Features: | Forged brass body | |
| Precise dimensions | ||
| Various sizes available | ||
| OEM production acceptable | ||
| Materials | Spare Part | Material |
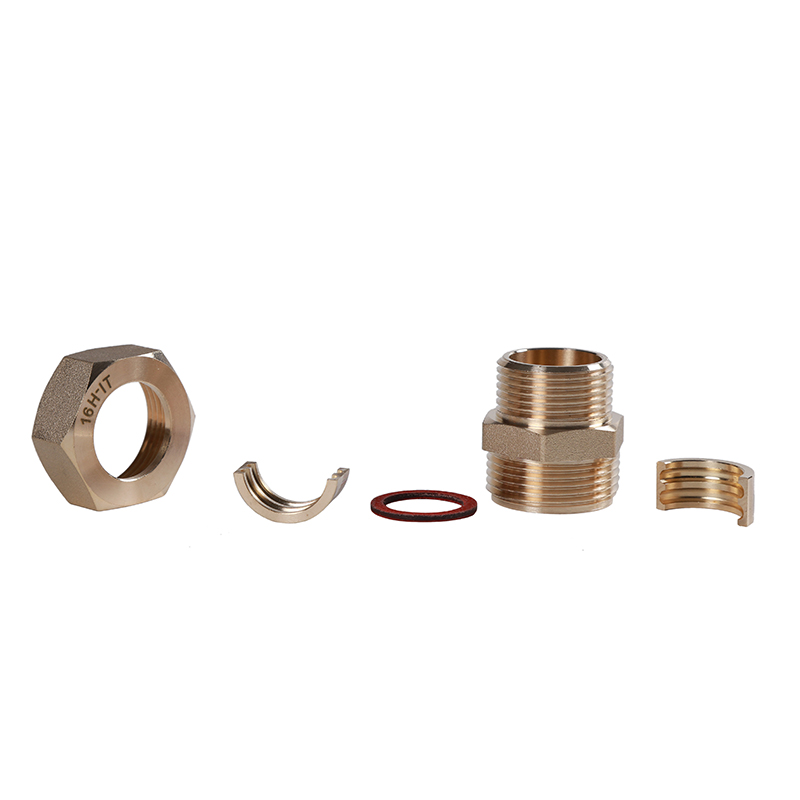
| Body | Forged brass, sandblasted | |
| Nut | Forged brass, sandblasted | |
| Insert | Brass | |
| Seat | copper ring | |
| Stem | N/A | |
| Screw | N/A | |
| Packing | Inner boxes in cartons, loaded in pallets | |
| Customized design acceptable | ||
Optional Materials
Brass CW617N, CW614N, HPb57-3, H59-1, C37700, DZR, Lead-free
Optional Color and Surface Finish
Brass natural color or nickel plated
Applications
Fluid control system for building and plumbing: Water,oil, Gas, and other non-corrosive liquid
Brass fittings is made of forged brass or machined from brass bar, designed to connect hose pipes and other pipeline applications. Peifeng is a professional China brass fittings manufacturer and supplier.
Brass compression fittings have the characteristics of reliable connection, high pressure resistance, good sealing and repeatability, convenient installation and maintenance, and safe and reliable work. Widely used in oil refining, chemical industry, light industry, textile, national defense, metallurgy, aviation, shipbuilding, mechanical engineering, machine tool equipment and other industrial fields. The surface polishing of brass compression pipe fittings looks exquisite and meticulous, feels very good, and the quality is also Absolutely guaranteed.
If the brass compression fittings need to be disassembled and reinstalled, the steps are as follows:
(1) Disassembled crimp joint
(2) Insert the TUBE tube with the clamp and nut into the joint body until the front is clamped in place
(3) Tighten the nut by hand first, then use a wrench to rotate it to the position before disassembly (that is, the position after screwing 1-1/4 turns or 3/4 turns during the first installation), and then use a wrench to twist it a little bit. Just a little bit and that's it.
Contact Us
